
A modular platform for specialized AI agents that collaborate to solve complex problems.
![]()
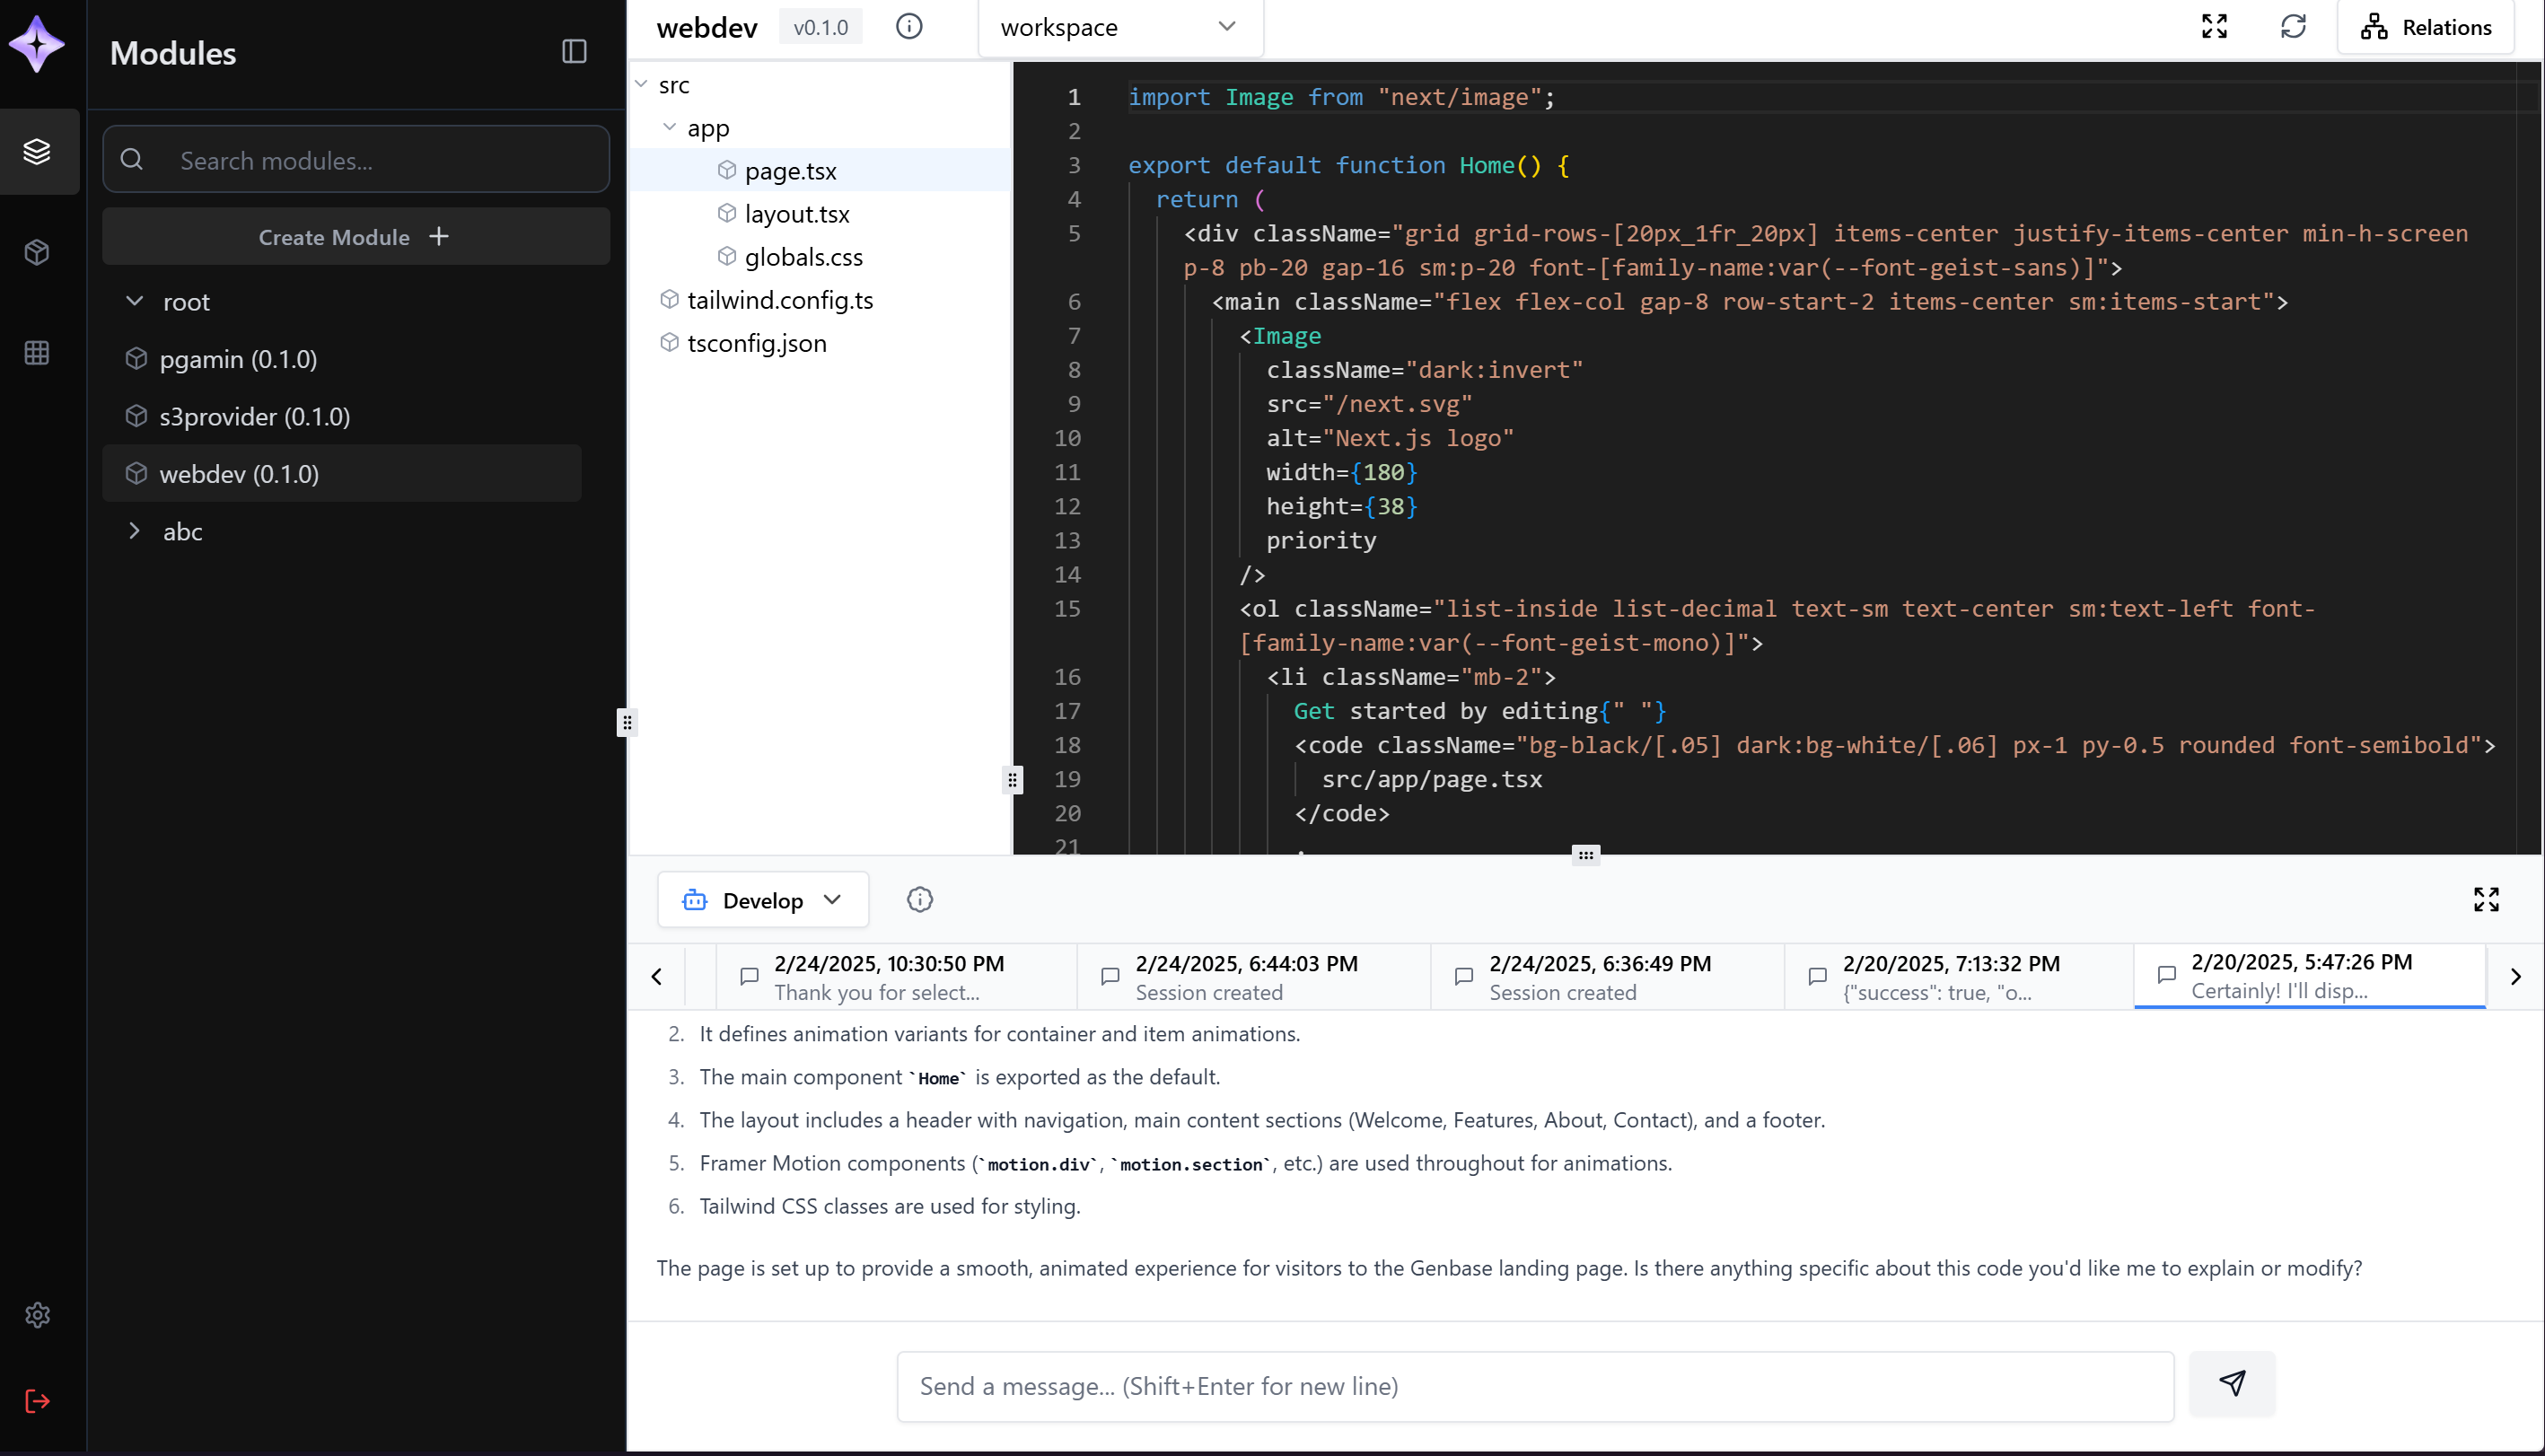
Genbase is an open platform that enables AI-powered collaboration through specialized modules. Instead of building one agent that knows a little about everything, Genbase allows you to combine domain-specific agents that each bring deep expertise to their area.
- Specialized Modules: Package domain expertise into modules with purpose-built agents
- Collaborative Workflows: Agents work together through well-defined relationships
- Git-Based Workspaces: Agents operate on real repositories with full filesystem access
- Extensible Architecture: Add new capabilities by creating or combining modules
Traditional AI assistants try to know everything but often lack depth in specialized areas. Genbase takes a different approach:
┌─────────────────┐   ┌─────────────────┐   ┌─────────────────┐
│  Next.js Expert │   │PostgreSQL Expert│   │ Docker Expert   │
│                 │◄──►                 │◄──►                 │
└─────────────────┘   └─────────────────┘   └─────────────────┘
- Web Developer Module: Deep knowledge of frameworks, components and best practices
- Database Module: Expertise in schema design, query optimization and administration
- Deployment Module: Specialized in containerization, networking and cloud services
Modules collaborate through actions, sharing context, and workspace access - creating solutions no single agent could provide alone.
-
Clone the repository:
git clone https://github.com/genbase-ai/genbase.git cd genbase -
Copy the environment templates:
cp docker/.env.template docker/.env
cp engine/.env.template engine/.env
cp studio/.env.template studio/.env
-
Edit the
.envfiles with your credentials (at minimum, add an LLM API key):nano engine/.env
-
Make scripts executable:
chmod +x scripts/*.sh -
Start Genbase:
./scripts/docker-run.sh up
-
Access the applications:
- Studio: http://localhost:5173
- Engine API: http://localhost:8000
- Make sure you have Python 3.11+ and Node.js 18+ installed.
- Follow steps 1-3 above.
- Run the local script:
./scripts/run-local.sh
- Create a new project
- Add the Next.js Web Developer module from the registry
- Start the development workflow
- Ask the specialized agent to create a feature
- Watch as it generates code, runs tests, and explains its approach
To build both applications for production:
./scripts/build.sh- Start all services:
./scripts/docker-run.sh up - Stop all services:
./scripts/docker-run.sh down - View logs:
./scripts/docker-run.sh logs - Rebuild images:
./scripts/docker-run.sh build - Restart services:
./scripts/docker-run.sh restart
The Engine supports many environment variables. Key ones include:
# LLM API Keys (At least one is required)
ANTHROPIC_API_KEY=your_anthropic_api_key_here
OPENAI_API_KEY=your_openai_api_key_here
GROQ_API_KEY=your_groq_api_key
MISTRAL_API_KEY=your_mistral_api_key
DEEPSEEK_API_KEY=your_deepseek_api_key

# Core settings
REGISTRY_URL=http://localhost:5173
DATA_DIR=".data"
ADMIN_USERNAME="admin"
ADMIN_PASSWORD="your_secure_password_here"
DATABASE_URL="postgresql://user:password@host/database?sslmode=require"

# Additional settings
LOG_LEVEL="INFO"
API_HOST="0.0.0.0"
API_PORT="8000"
# ... and many more (see engine/.env.template)
# Core settings
VITE_ENGINE_URL="http://localhost:8000"
VITE_API_USERNAME="admin"
VITE_API_PASSWORD="your_secure_password_here"
Note: When running with Docker Compose, the Engine container will use its own
.envfile mounted as a volume, allowing for runtime configuration changes without rebuilding the container.
-
Check environment files
- Verify
.env,engine/.env, andstudio/.envexist and contain the right variables
- Verify
-
Test the applications
- Engine API: Make API calls to http://localhost:8000
- Studio UI: Open http://localhost:5173 in your browser
- Try logging in with the configured admin credentials
-
Common troubleshooting
- View logs:
./scripts/docker-run.sh logs - Restart services:
./scripts/docker-run.sh restart - Check container status:
docker ps -a
- View logs:
We welcome contributions! See CONTRIBUTING.md for details on how to get started.
Genbase is licensed under the Apache 2.0 License - see the LICENSE file for details.